Tape Slitting Machine Installation and Commissioning: Key Precautions
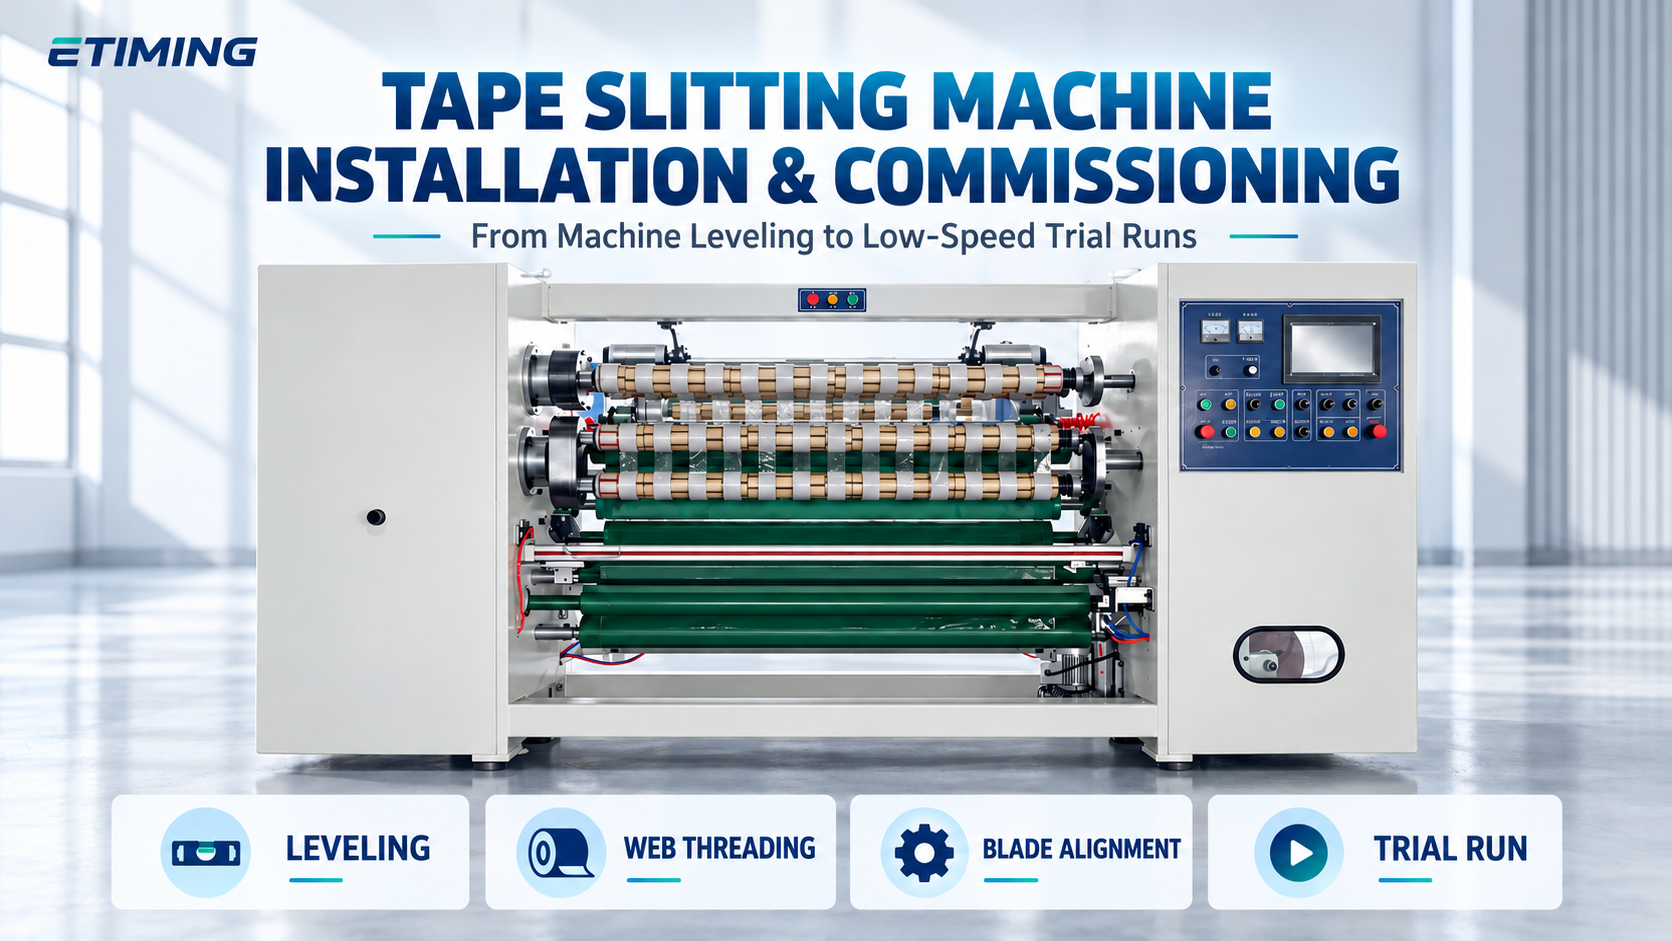
Installing and commissioning a tape slitting machine involves positioning and supporting the machine, leveling, utility checks, roll loading, web threading, blade alignment, and trial runs. Checking each stage in sequence helps establish a sound basis for stable production.
1. Position the Machine and Check the Installation Area
Inspect the machine for transport damage, loose components, and missing accessories before positioning it. Confirm that the floor meets the load requirements of the machine and raw materials.
• Leave enough room for jumbo-roll loading and finished-roll unloading.
• Maintain access for operation, maintenance, guards, and electrical cabinet doors.
• Position auxiliary equipment, such as core-loading and trim-collection units, to suit the intended workflow.
Install the specified leveling pads or supports and check that all designated load-bearing points make proper contact. Correct unsupported feet, loose pads, or frame movement before proceeding.
2. Level the Machine in Both Directions
A machine that looks level may still be outside its installation requirements. Use suitable measuring equipment and the manufacturer's designated reference surfaces or measurement points.
Establish a Consistent Reference
Clean the measurement surfaces and check the instrument before measuring. Do not compare unrelated covers, guards, or edges that are designed at different heights.
Compare Front-to-Back and Left-to-Right Readings
Identify and record the corresponding measurement points. Check both directions rather than relying on a reading from one side. When using a laser level, keep the same horizontal reference throughout the measurement.
For example, if the laser line is above all measurement points and the points belong to the same reference plane, a greater vertical distance below the line indicates a lower point.
Recheck After Adjustment and Tightening
The installer should adjust the supports using the machine's specified method, secure them, and measure again. Confirm that tightening has not moved the readings outside the permitted range and that all supports still make proper contact.
Precaution: Follow the machine-specific measurement points, adjustment method, and tolerances. Frame leveling and roller parallelism are separate checks; one does not establish the other.
3. Verify Electrical and Compressed-Air Requirements
Check the machine nameplate, electrical drawings, and available power supply before connection. A qualified electrician should complete the electrical connection, protective earthing, and associated checks.
Before connecting compressed air, verify the required pressure, hose specification, and air-quality requirements. Check for leaks, correct regulator operation, and stable pressure after connection.
Precaution: Voltage, pressure, wiring terminals, and cable sizes can differ between machines. Do not copy another model's settings or use arbitrary machine movements to determine whether wiring is correct.
4. Check Jumbo-Roll Loading and Locking
Confirm that the roll weight, width, and core size are compatible with the unwinding system. Use handling equipment suitable for the load.
Stop the machine and isolate energy as required by its instructions before loading. Check the roll orientation, unwinding shaft or chucks, support engagement, shaft-end fixation, and locking devices. Confirm that the roll is positioned for downstream processing and does not interfere with the frame or guards.
If web-position correction is fitted, verify its reference position, movement direction, and travel limits before testing.
5. Follow the Correct Web Path and Adhesive Orientation
Thread the web according to the machine's threading diagram. The diagram should identify roller order, over-or-under routing, adhesive-side orientation, and the required nip-roller positions.
With the machine stopped and energy isolated as required, inspect each section for incorrect routing, twists, folds, excessive slack, or contact with unsuitable surfaces. Check that the web edges do not rub against the frame or other components.
Precaution: Do not infer the full web path from an exterior photograph. Use any threading-assist movement only under the machine's defined procedure, keeping hands clear of roller nip points.
6. Align Blade Positions and Paper Cores
Check the required slit width, number of strips, trim allowance, core diameter, core width, and core arrangement as a complete setup.
Use a common position reference for blade and core alignment. Check both blade spacing and the position of the first blade relative to the corresponding core. Correct strip widths alone do not ensure that the whole setup is aligned.
After blade, spacer, and holder installation, check secure fastening and the specified clearances. Measure the actual slit widths during the trial and inspect for rough edges, incomplete cuts, and strips winding away from their intended cores.
Precaution: Stop and isolate energy before installing, cleaning, or adjusting blades. Set blade engagement according to the machine and tooling instructions; deeper engagement is not automatically better.
7. Verify Individual Functions Before Low-Speed Trials
Before continuous operation, check guards, stopping functions, and the conditions required for each machine movement.
On machines with automatic labeling, cutting, or shaft changing, verify the individual functions, locking, and detection systems before testing an automatic sequence.
• Watch for unstable unwinding or sudden changes in web slack.
• Check tracking, wrinkles, rubbing, and cut-edge quality.
• Inspect winding for uneven edges, loose rolls, or deformation.
• Stop to investigate abnormal sound or vibration.
8. Adjust Tension According to the Material and Results
Tension settings depend on the material, web width, operating speed, and finished-roll requirements.
If wrinkles, loose rolls, or uneven roll edges appear, inspect threading, material position, blade alignment, core arrangement, and tension together. Do not assume that every defect means insufficient tension.
Precaution: More tension is not always better. Maximum mechanical speed is not an initial trial setting. Increase speed progressively under the commissioning plan only after product and function checks pass.
9. Record Product Results and Operating Settings
Inspect finished-roll width, length, end-face quality, winding firmness, and tail finishing against the order requirements.
Record material specifications, blade positions, core arrangement, speed, unwinding and rewinding tension, deceleration, and labeling settings. Retain the associated inspection results or samples for future changeovers, maintenance, and troubleshooting.
This article describes general installation and commissioning precautions for tape slitting machines. Leveling references, web paths, tooling, and operating sequences vary by design and configuration. Follow the machine-specific manual and obtain guidance from qualified technical personnel.