Automotive Foam Tape Removal: Residue, Paint Risks and Rebonding
Removing automotive trim, emblems or a spoiler often reveals the same problem: the part starts to lift, but foam tape remains firmly attached to the vehicle. Some foam comes away while the remaining adhesive becomes increasingly sticky. Faster cleaning can also mean greater risk to paint or plastic.
For repair shops and accessory installers, the cost goes beyond a replacement strip of tape. Cleaning time, damaged parts and repeat visits after a new bond fails all add to the job. Treat removal, residue cleaning and rebonding as separate tasks.
1. Identify the surface before choosing a removal method
Original paint, refinished paint, plastic and protective film may need different treatment. Check for screws and clips, identify both substrates, inspect for repaired or lifting paint, and establish whether the finished surface will remain visible.
Some tutorials cut through foam beneath a spoiler, where marks may be hidden by the part. That does not make the same method appropriate for exposed paint. Successful separation is not proof of damage-free removal.
2. Separate the part first; clean the residue second
Do not expect one hard pull to remove the part and every trace of adhesive. Where the assembly permits it, support the part and separate the bond progressively using a method appropriate to its structure and surfaces. Deal with remaining foam and adhesive afterward.
3M industrial tape-removal guidance also distinguishes bond separation from subsequent cleanup. Industrial tools and methods are not automatically suitable for automotive paint. Stop if the part deforms, paint begins to lift or the fastening arrangement is unclear.
3. Stubborn residue does not always call for a harder tool
Thick foam and a thin adhesive film may require different approaches. A sharp scraper can turn a cleanup task into paint repair. Confirm that any cleaner is suitable for the actual surface. Certain 3M adhesive cleaners are described as suitable for most fully cured automotive paints; this is not a guarantee for every refinish, plastic or protective film.
Test an inconspicuous area for color, gloss or softening changes. Follow the cleaner label for quantity and contact time, work in small sections and replace contaminated wipes. Provide ventilation, keep away from ignition sources and do not combine heating with flammable solvents. Adhesive-removal wheels also have tool-speed and surface restrictions; they are not universal solutions.
4. If the new tape fails, check four causes
Surface preparation: old adhesive, oil, wax and moisture can prevent adequate contact. Clean and dry according to the selected tape instructions.
Substrate mismatch: paint and plastic are different bonding surfaces. Some automotive tapes and adhesion promoters target particular material combinations. A promoter is not a universal fix.
Geometry and dimensions: gaps, warped parts and effective contact area matter. A thicker tape is not automatically a stronger solution.
Pressure and dwell time: immediate tack is not final bond strength. For certain VHB tapes, 3M gives a room-temperature example of about 90% of ultimate strength after 24 hours and 100% after 72 hours. This is a product- and condition-specific example, not a universal promise for automotive foam tape. Follow the actual product instructions for installation temperature, pressure, dwell time, washing and loading.
5. For a small order, make the application clear
A photograph of black double-sided tape is rarely enough to select a specification. Provide the installation location and both substrates; width, thickness and length; indoor or outdoor exposure, temperature and water contact; curvature, gaps or failure photographs; trial quantity and any slitting or die-cutting needs.
Do not select solely by initial tack. Match the tape to the materials, assembly and installation conditions, then validate with samples.
Need a trial quantity, a special width or a hard-to-source automotive foam tape?
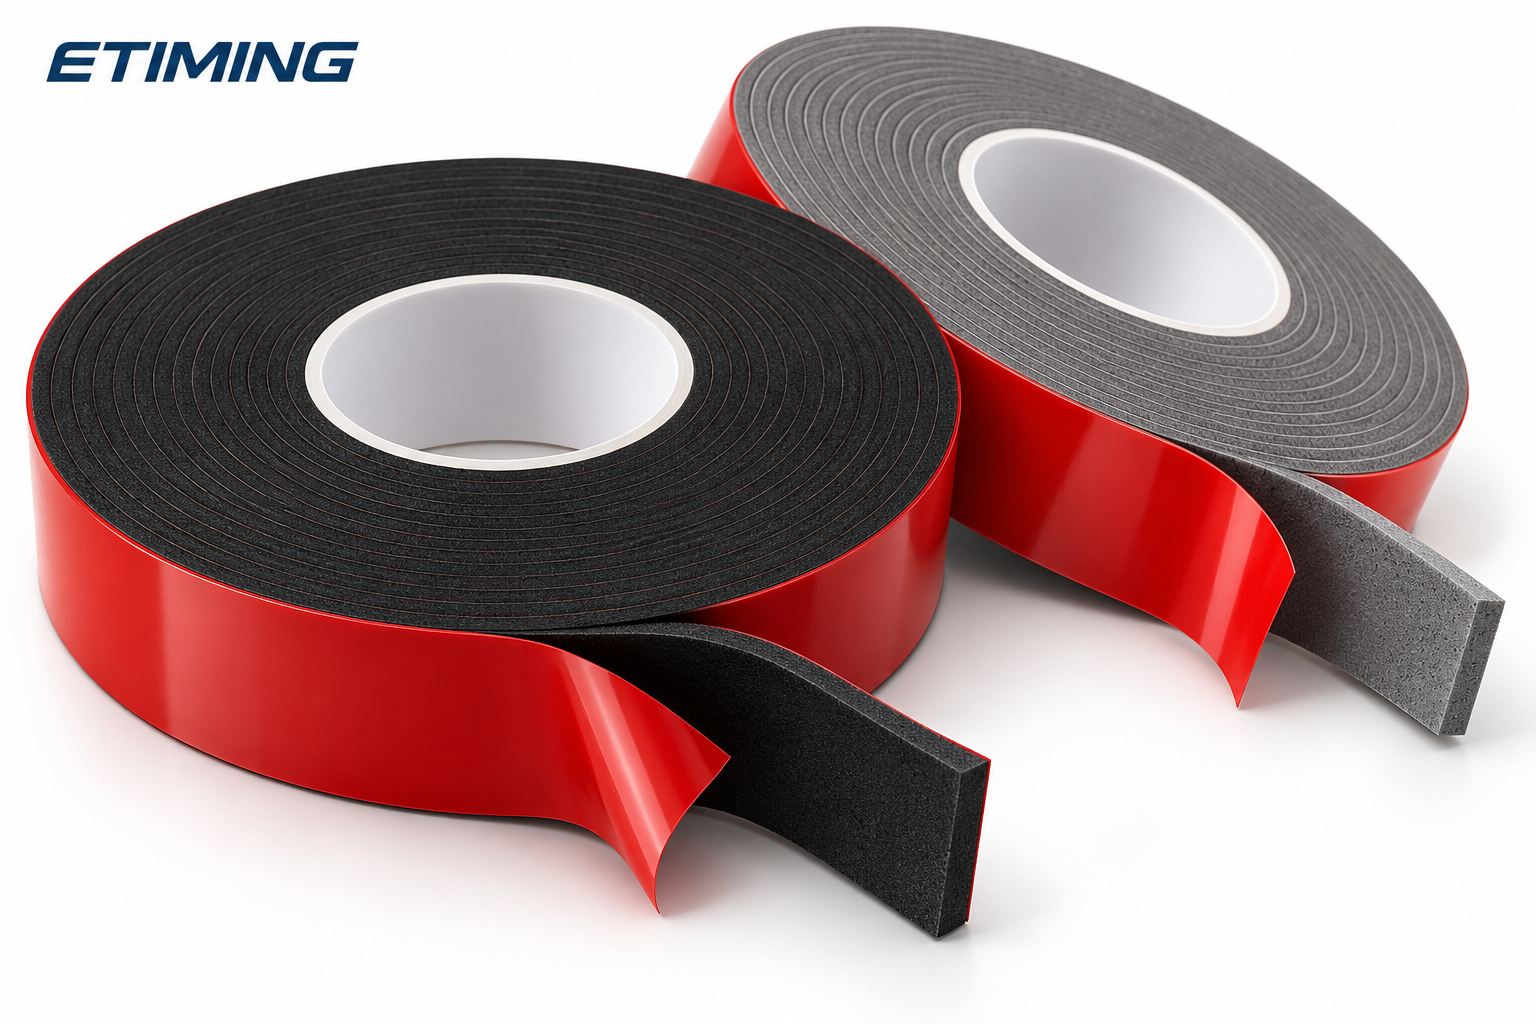
Tell ETIMING the application, dimensions and quantity. We can help clarify specifications, sampling and purchasing conditions. The product image is a category illustration; supplied specifications are subject to the approved sample and quotation.
View Automotive Double-Sided Foam Tape
References
3M: Applying 3M VHB Tapes — preparation, pressure and removal
https://www.3m.com/3M/en_US/vhb-tapes-us/resources/applying-3m-vhb-tapes/
3M: General Purpose Adhesive Cleaner — check product-specific surface compatibility
https://www.3m.com/3M/en_US/p/dc/b40070711/
3M: Automotive Adhesion Promoter 06396
https://www.3m.com/3M/en_US/p/d/b40065518/
3M: VHB surface preparation and bond-strength development
https://www.3m.com/3M/en_US/bonding-and-assembly-us/resources/full-story/?storyid=b3996cbd-9954-455f-8e72-88e452ca38c0